Tuesday, May 31, 2011

Grungy Monday #9


Good morning everyone. I hope you all had a great Holiday Weekend. Despite my plan to get much time in the craft room; I only got 3 hours in! How sad is that? On the otherhand, with so much to do and finish, I was pretty focused.


So, on to the Grungy Monday Technique Challenge, Linda at Studio L3 has set us to another of Tim Holtz's wonderful 12 Days of Christmas Tags from 2007, day 10. This technique is also in his wonderful book, the Compendium of Curiosities, under Shabby Chic. I hadn't gotten a stash of grungeboard when we had done this the first time, so was using a piece from the Elements set, and was sorta afraid to experiment. In the 12 Tags example, Tim used a tag, and also suggested using black card stock instead of the black paint...Brilliant! This worked out so much better for me! My black cardstock seems to be double thick too, made it that much sturdier.


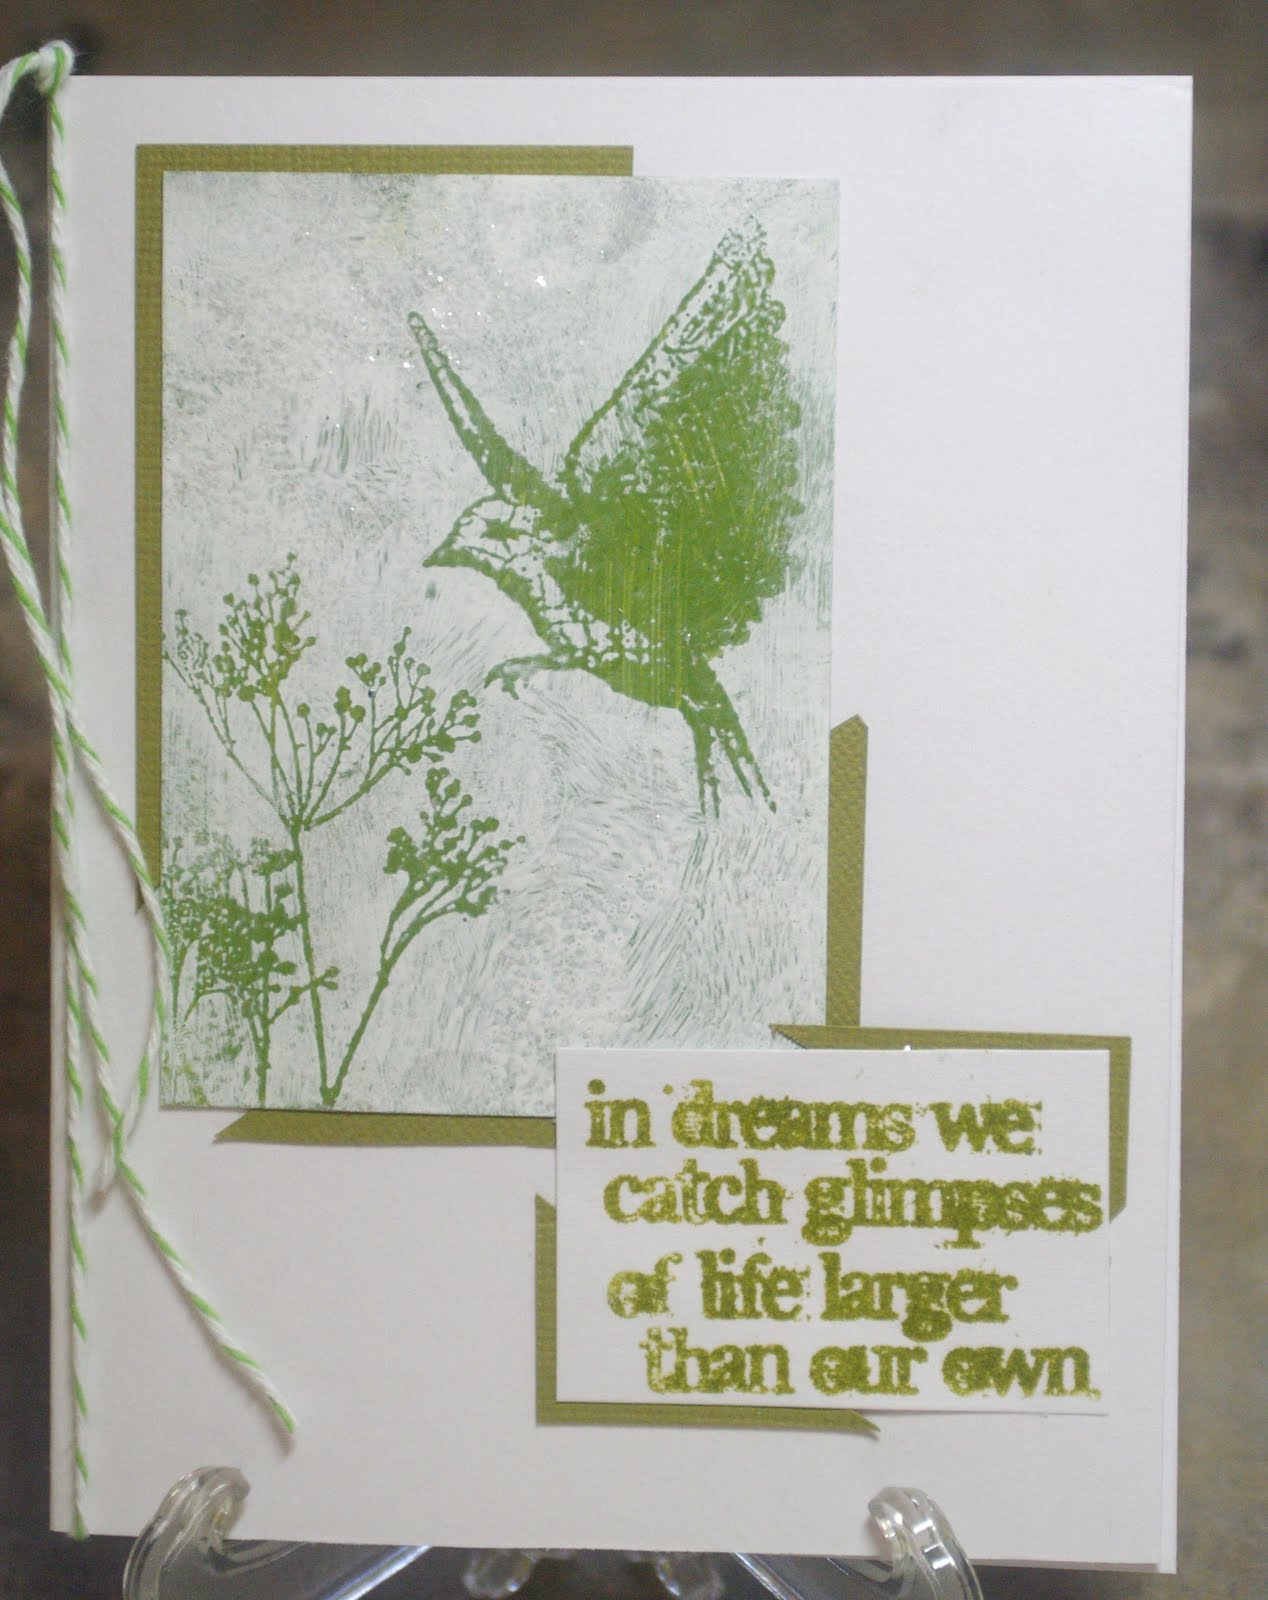
After embossing the images from Tim Holtz's set, I used Lemonade, Lettuce and Stream Adirondack Dabbers. Totally waited for it to dry (see- I learn from past mistakes! LOL) and rubbed away--very nice, except I lost a lot of the lemonade, the green sorta took over. I then went to stamp a saying over the top. OK, raise your hands...who knew you couldn't get a crisp image over the paint? Re-dabbed and tried twice! finally went with the ticket to cover the mess underneath. And yes, it's official, my bottle of Rock Candy Stickles, even though 1/3 full, is completely out of the stickle stuff--only glue is left. Oh, and I used some Black Soot Distress Stickles on the tag. Neither of which is clearly seen in the photo. But this was pretty fun, and sparked my creation for the Play Date Cafe challenge, which you can see in my previous post.

So, now go over to Linda's and check out the details, then jump on in. There is still plenty of time! Have a great week everyone!

PDC #83


Over at the Play Date Cafe, we are saying good bye to senior designer Sarah Anderson. While I'm fairly new to joining in at the Cafe, I have always found her designs very inspiring. Good luck on this new leg of your journey, Sarah!


So for this challenge, they have chosen her favorite, the Color Splash, which is black and white, with a splash of green. Unfortunately, mine is not the best representation of this...such plans for a 3 day weekend! Ended up with barely 3 hours of craft time! Thank heavens it finally stopped raining so I could boot my husband out to play golf! LOL! So with everything else that had to get done, graduation, B-days, etc., I just couldn't come up with anything appropriate...I know..weird. So, moving on the the Grungy Monday project at Studio L3, we were playing with the Shabby Chic technique by Tim Holtz. Pretty cool technique! So, while playing with that, I thought, what about green as the background color? Of course you're never really sure what will come through the top color, and the bird was much too green, but at that point, DH would be home soon, and I would need to see about dinner.


So, here it is. The background paint was the Adirondack Dabbers in lettuce, and the text was Adirondack Ink in lettuce; not that they totally match. The overcoat was Snow Cap Adirondack Dabber, with some Picket Fence Distress Stickles smooched over it all. I hope it is acceptable, as this is hardly as "splash" of green, and there is no black at all. And, now that it's uploaded on my work monitor, boy, the greens are so not matching! They are much closer in person--ah well. To really see what "Splash of Color" is all about, head over to the Play Date Cafe and check out everyone else's great works! Have a great week everyone.

Thursday, May 26, 2011

Grungy Monday--so good to me....(hmmm, hummm)


Don't ask..the music in my head has taken over today--The Mama's and the Papa's..good stuff!


So, to my other art medium....Lovely Linda at Sudio L3 has set us with one of my most fave, go-to techniques EVER! Tim Holtz's September Technique Challenge-2008. Really! Click on the link and check it out!


However, in keeping with my decision to work in my 7 gypsies ATC tray format...complications arose. You can check my previous post on WOYWW to see the fall-out! LOL! Either it was the small size, and wanting to use stamps that where too big, or the use of the white space, or lack there of on the ATC size--either way, not thrilled with the end result. The stamps are--I swear, though they are not on the website, from the Stampsmith. And I seemed incapable of shooting a straight picture! LOL!


So , a quick peek at my tray to date--and then go check out Tim's technique--there is still time! Have a great crafty week everyone!

WOYWW #103 Whirlwind


What a disaster! This is the quick snap as I was getting ready to turn out the light...remnants of my Grungy Monday Massacre! I think I see four failed attempts...not the technique--love that...you can check it out at Tim Holtz' site here. No, I think my problem was 1)working on the ATC size to fit my 7 Gypsies tray and 2) after so much grunge, I'm not handling the "white" space well. Either way, it left a path of destruction! Now, as I'm about to post, I'm very carefully double-checking...no, not a peak of the PIF present for next week's 2nd Anniversary! Whew! So, hop over to Julias at the Stamping Ground and check out everyone else's great work spaces. Have a great crafty week everyone!

Monday, May 23, 2011

PDC #82--Challenge 4: Birds 1


Wow...I feel like I haven't been able to have a play date in months! Luckily, not only did I have time this week, I also so loved the colors! My muse was all but doing the happy dance! Ideas were jumping out at me since Thursday. Ahh, but the actual assembliage...now that was a bit tricky!


Since the goldfinch are back on the hill, I went with the yellow bird idea. The bird and cage are from Tim Holt'z Caged Bird die. Bird 1: tried embossing with a music texture plate. Image too big for little bird...didn't make any sense. Bird 2: Used the retro circles texture fade from Tim Holtz. Embossed too deeply, bird decapitated. Bird 3: Less embossing (no tabs, no bottom plate, folded paper instead) looked good, then got carried away with Frayed Burlap, now looks like a house sparrow. Bird 4...finally made it to the cage (meanwhile surrounded by kitties, thinking they were eventually going to get lucky with real thing).

The Background was made using the Wrinkless Distress technique from Tim's book, with Antique Linen, Frayed burlap and Walnut Stain. I wrote the maker of the stamp down, and then left it home...ask if you need it! Same with the saying...where is my memory!!! And there you have it! Now hop over to the Play Date Cafe and see what everyone else is brewing! Have a crafty week everyone!

Friday, May 20, 2011

Grungy Blocky Goodness--#7


This week over at Studio L3, Linda has set our mission to discover color-blocking, a la Tim Style, with a Ranger Video made during CHA. Now, while I have known about this technique, for some really stupid reason, I just never made the connection to do it with the applicator sponges and distress inks!!?? How easy, fun and quick is this!! Since my 7 Gypsies tray is starting to look a tad monochomastic, my goal this week was to add some color (even before I knew what we'd be doing.)


So, using Scattered Straw, Victorian Velvet, Milled Lavender and edging with Dusty Concord, I blocked in my background. I don't use the actual applicator...they don't stay stuck for long when you swap out, and I just would get too annoyed with 36 of those buggers lying around on my desk! I instead cut up the cut and dry foam as needed, in what ever size I feel like at the time. My fingers are quite capable of holding the foam smooth and steady in place of an applicator. I use one foam per color group, and right now they all fit in one of the little drawers in my desk caddy. I thought it looked quite fabulous!


So, then, my brain starts going with ideas to finish...and butterflies, (the die I said I'd stop using for a bit) came to mind. First I stamped a butterfly background in Dusty concord. I can not remember who made it, all my notes said is "envelope lady @ Springfield show". I probably should have used milled lavendar, as it became a tad dark. This made the paper choice for the butterfly tricky...finally chose a Bazzil light purple metallic. I wanted some gold, so ended up stippling some gold AI additive---thought the paper would behave more like glossy--ah well. threw in some tiny...really tiny...microscopic...black pearls for a bit of dimension.


Still wanting more gold, I used a Magenta border and corner stamp with gold EP, then stamped the saying (can't remember this either) on purple, and Ta dah! Not to bad, considering I wasn't sure I'd even get to play this week! The butterfly is raised up on thick tape, but this photo isn't showing that well. And as for the main mission--to add color to my tray...lets just say next week I'm aiming for hot pink, shocking orange or bright yellow! LOL!

So, now go over to see the fabulous work of Linda, her guest designers and the rest of the Grungy Monday gang! Check out Tim's video, then jump in..there is still time!

Wednesday, May 11, 2011

WOYWW #101


The Muse is Back in Town! Well, she hasn't made it quite back to the hill, but she is definately closer! I got my Grungy Monday project done last night, and still had time left over to work on some card fronts. Nothing exciting--just a start for some cards I'm making for a craft show--if I get up enough guts, and get enough stuff made to actually sell! The Sunflower will be like the one I made for my Mother's Mothers day Card. The other one will be colored probably the same, using sponged-on DI's, touched up with DI Stickles. You'll just have wait to see how they progress! You can see, it's still pretty feaking neat after my attempt to attract the Muse back--even the GM project didn't progress into my usually state of chaos! Ah well!


No, go jump over to Julia's Stamping Ground as see what everyone else is up to! Have a great week everyone!

Grungy Monday #6- Dabber resist cool-ness!


Greetings everyone!! Linda has come back from Ranger U and has picked a great technique for the Grungy Monday Challenge! This weeks explorations of Tim Holtz's wonderful creativitity, we are revisiting the 12 Tags of Christmas, 2007, day 8. And I have to say...This one is sooooo cool, my Muse came back to check things out (thank heavens!) Unfortunately she brought along her friend, Mischief...I have never had so many dropped ink pads (all ink side down!) spilled a bottle of water while trying to fill a mini mister...a page from one of the stamp binders just ripped out....LOL! But it was still a lot of fun to not be fighting for every little bit of inspriation on a project.


So, I will add, this picture so does not do this justice!! I really need to find out at which end I'm having such a color shift! I'm thinking the work monitor, but maybe the home one is too "hot" so I'm over compensating before saving to bring to work to upload.


I used the Lemonade Dabber, then Rusty Hinge DI. And I have to say again...this came out so amazingly neat!! I was all set to use the Espresso Dabber for the cat (and no, I can't remember where this came from, other than it is umounted) and thought--hmmm, leopard spots!! So I stamped them in Tea Dye DI. Of course, I didn't want to wipe them all off, so this step did cover some of the cool lemonade resisting--but in person you can still see it. The saying comes from Silver Crow Creations, and then I added the brads to sorta be like leopard spots. I touched them up with Spiced Marmalade Distress Stickles to give them abit of shimmer...again. not seen in the photo.


And, to keep everyone current, here is the 7 Gypsies tray to date! Not that I mind monochromastic themes, I sorta hope this doesn't become a trend! LOL!


So, jump over to Linda's, check out Tim's technique, and jump on in...there is still time! Have a great week everyone.


Monday, May 9, 2011

Play Date Cafe Challenge #80


The Play Date Cafe is up to week 80! This week the colors are red, orange and white. I've missed the last few PDCC's due to an AWOL Muse. She's still not around (I think she's on a cruise ship drinking mojitos and bahama mama's, which is where I should really be!) but I felt I really needed to jump back in. And what a struggle this week was!! I'm not sure why, as I really like these colors--maybe because I usually don't use them together?


So after many hours of thinking (yeah, really, since it was announced!) on Saturday I went up, and started pulling out papers--nothing moved me. Went to stamps, and found this set from Sunday International--had them for years, and they weren't even mounted yet! Since coloring is a challenge for me, I didn't want to go that route (though there is one single really nice goldfish, but I didn't have any sayings I felt went with it) so then I thought of the alcohol inks..and bam--a plan was in place! LOL! If Only! 2 sheets of glossy later--I finally got a background I liked. I had heard that you couldn't mix the Adirondack AI's with the Pinata AI's. Can't remember why--different types of alcohol base maybe? But I only have the Peach Belini and Cranberry Adirondacks that would fit, as Butterscotch and Terra Cotta just didn't, and the Pinata had Chili Red and Tangerine. But the tangerine came in too yellow, so I had to add the Peach to "orange" it up. I used the mono print technique from the Compendium of Curiosities, and the two types seemed to play nice. It seemed to be the clear solutions that didn't go well. I then embossed with white EP, layered on a chili-red paper, the tried dyeing the ribbon to become orange. That didn't work out quite as well- it sorta came out rusty.


It is a white card underneath it all, but my image came out much darker, and it looks sorta dark cream/pale orange to me, at least on this monitor! (I really need to calibrate my camera view screen, my home computer monitor, and my work monitor! LOL!) So, with all said and done--I really need my muse to come home! I have some serious crafting to get done! So jump over to the Cafe and see what wonderful works of art everyone else came up with-and jump on in! Happy Crafting everyone!

Mom's Day Cards


Thank you for the suggestions on helping me put the finishing touches on one of the mothers Day Cards. The Clematis Stamp (PSX) just fits on a card front, with very little room for matting, so I ended up just mirroring the oval with a purple that matched the flowers details. The ribbon really didn't do much, visually, but did add some texture.


The Sunflower (Inkadinkadoo) was done with distress Mustartd Seed, Peeled Paint and Vintage Photo, with some Walnut Stain on the edges and Linen to get reid of the white paper. I then used the Vintage Photo and Mustartd Seed Stickles to add some texture and sparkle--which of course didn't show up on the photo.


This card is actually a gift card holder, using the Sizzix 3-d Pop-up Gift Card Die. Took a while to figure out how to assemble it, but it is pretty cool! It has its own small frame, which was too small for the image, so I used the Tim Holtz On the Edge Bracket Die to make the frame.


Thanks for stopping by. I hope everyone had a fantastic weekend, and that all you Mother's had an especially great day (I was told by my husband that until I give birth to a kitten or puppy, I'm not really our babies' Mother! Hurumph!) Have a great crafty week!

Wednesday, May 4, 2011

WOYWW #100--Help! Help!


After last weeks totally clear, sterile desk treatment in a fruitless attempt to get my muse back, she is still hiding away....yeah, the week I need to get Mom's day's cards out-oh and a girlfriends Birthday---


After 2 Hours....this is what I have....and it needs....something! Suggestions?? Ideas?? Advice to take a drink and start over?? Neither my Mom or Mom-in Law are much in "grunge", but I just couldn't not run the distresser around the edge, then sponge it up with DI Milled Lavender and Dusty Concord. But the image is too big for a layer; I don't have purple fibers..I could dye some lace, but I'm not sure that would do the trick; maybe some pearls? UGH!


The stamp is a PSX Botanical--I love them, have quite a few, but haven't used them in years, colored with Prismacolor pencils. The Mother's day verse (also PSX) was my first use of my new Spellbinders die-run through my Big Shot. I don't have the solo thin die adapter, impression pad or silicone rubber matt Tim Holtz suggests on his video, but some folded scrap paper for the embossing part seemed to work pretty well.


So, PLEASE! Some suggestions to "Finish" this...or some suggestions to get my Muse back...anything! LOL! And then you can jump over to Julia's Stamping Ground and see everyone else's busy desks...and get some craft on..Have a good week everyone.